How to Run Your Own Cloud Server at Home (Complete Guide)
Sick of watching the monthly fees for Google Drive, iCloud, or Dropbox creep higher and higher? You definitely aren’t the only one feeling the pinch. Millions of people are actively searching for ways to take back control of their data and escape endless subscription fatigue. It feels like every year, major cloud providers bump up their prices without actually giving us any meaningful new features in return.
Beyond the financial cost, handing over your personal files to big tech companies often means trading away your privacy. It leaves you exposed to sudden account bans, alarming data breaches, or out-of-the-blue policy updates. At the end of the day, when your files are sitting on someone else’s computer, you’re forced to play by their rules.
If you’re currently wondering how to run your own cloud server at home, you’ve landed in the perfect spot. Thanks to a wave of modern, open-source tools, building a personal cloud is actually much easier than it used to be. In this comprehensive guide, we’ll walk you through the entire process, covering everything from simple beginner-friendly setups to advanced home lab networks designed for IT pros.
Why You Need to Learn How to Run Your Own Cloud Server at Home
What’s driving so many tech enthusiasts to ditch public cloud services in droves? When you get down to the technical details, it really comes down to three things: controlling your own infrastructure, maintaining data sovereignty, and cutting long-term costs. We’re witnessing a major shift in how people view digital ownership.
For starters, public cloud companies rely on proprietary, “black-box” storage environments. That means you have absolutely no visibility into how your files are handled, backed up, or analyzed. Automated algorithms constantly scan user uploads looking for terms of service violations—a practice many consider a massive invasion of privacy. Plus, if their servers experience an outage, your access to critical documents vanishes in an instant.
On top of that, the cost of commercial cloud storage scales terribly over time. Sure, the first 100GB might be free, but once you hit the terabyte range, you’re easily spending hundreds of dollars a year. Once you learn how to put together a home server setup, the hardware is a one-time purchase. After that initial investment, upgrading your storage capacity only costs a fraction of what you’d pay for an ongoing yearly subscription.
Finally, we can’t ignore the very real concern of data privacy. It’s an open secret that free cloud tiers frequently mine user data to fuel targeted advertising and train machine learning models. By choosing to run a self-hosted cloud solution instead, you guarantee that your personal files remain strictly in your own hands.
Quick Fixes / Basic Solutions for Beginners
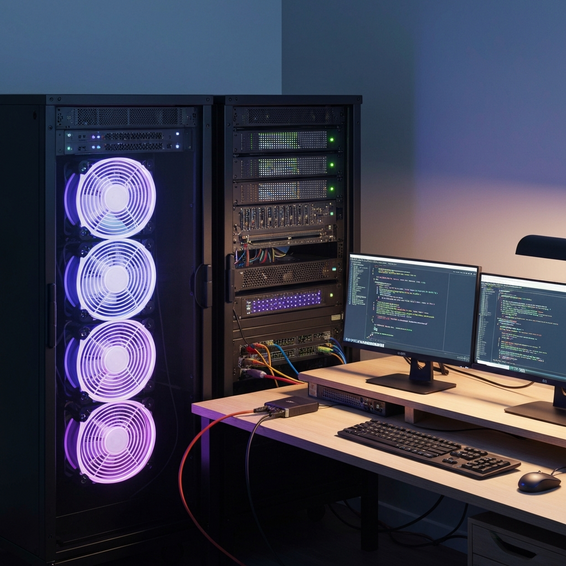
You don’t need a massive, enterprise-grade rack server just to get your feet wet. In fact, you can spin up a perfectly functional personal cloud using equipment that’s probably already gathering dust in your closet. The true beauty of self-hosted software lies in how incredibly efficient and adaptable it can be.
Here is a straightforward, highly actionable roadmap to kickstart your self-hosting journey:
- Choose Your Hardware: An older laptop, a spare desktop tower, or even a basic Raspberry Pi will work wonders here. Mini PCs are also highly recommended since they draw very little power.
- Install a Linux OS: Wipe the computer’s hard drive clean and install a lightweight operating system. Distributions like Ubuntu Server or Debian are excellent choices because they leave plenty of system resources open for your actual cloud apps.
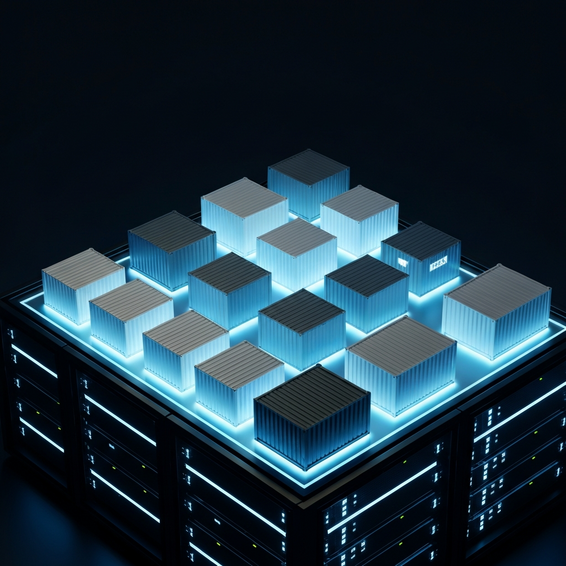
- Deploy Nextcloud: Think of Nextcloud as the ultimate open-source alternative to Google Drive. The absolute easiest way to get it up and running is by using Canonical’s Snap packages or setting it up in a Docker container.
- Configure Local Access: Head into your home router’s admin panel and assign a static local IP address to your new server. Doing this ensures your phones and laptops can always find the machine on your home network.
- Sync Your Devices: Finally, download the client apps for your PC and smartphone so you can start syncing your files locally at blazing-fast gigabit speeds.
If the idea of staring at a Linux command line feels a little intimidating, don’t worry. All-in-one software solutions like CasaOS make the whole experience infinitely smoother. These visually driven operating systems offer an app-store-style web interface, letting you install powerful server apps with a single click. If you’re looking to build up some more foundational knowledge first, definitely check out our complete guide on building a HomeLab.
Advanced Solutions: The Dev / IT Perspective
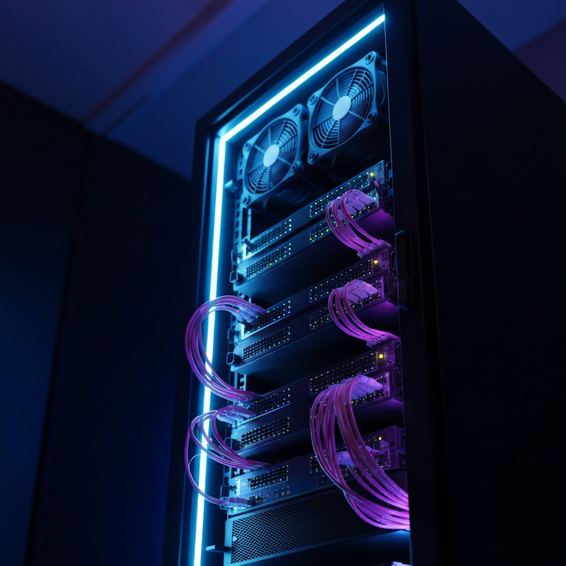
If you already have a background in DevOps or just love tinkering with complex networks, you’ll probably want a more robust and scalable architecture. Advanced homelab setups lean heavily on virtualization, container orchestration, and highly secured remote access protocols.
Rather than installing an operating system straight to the bare metal, you’ll want to start with a hypervisor like Proxmox Virtual Environment (VE). Proxmox gives you the power to run multiple virtual machines (VMs) and lightweight Linux containers concurrently on a single physical box. For instance, you could isolate your cloud files in one container, run network-wide ad-blocking in a second, and host a media streaming server in a third.
When it comes to managing the actual data storage, TrueNAS Scale is widely considered the industry standard. Because it utilizes the incredibly robust ZFS file system, TrueNAS delivers enterprise-grade data integrity, defense against bit-rot, and instant snapshot features. From there, you can easily mount those ZFS datasets directly into your virtualized instances.
Remote access is where these advanced configurations really show their worth. Naturally, you’ll want to access your files while away from home, but blindly opening ports on your router is a massive security risk. Instead of leaving port 443 exposed to the world, utilize a reverse proxy like Nginx Proxy Manager or Traefik. These tools securely route your external traffic while automatically handling Let’s Encrypt SSL certificates.
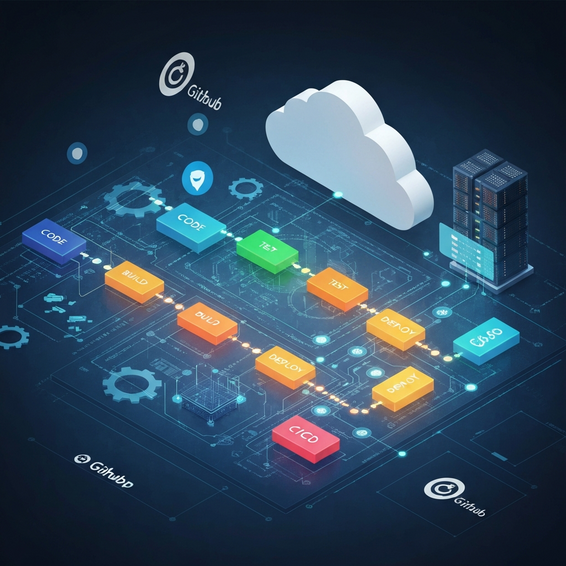
Alternatively, you might choose to skip port forwarding entirely. By deploying a Cloudflare Tunnel or a WireGuard-based mesh VPN like Tailscale, you can securely tunnel into your private network from anywhere on the globe. To dive deeper into automated software deployment, take a look at our insights on DevOps workflows.
Best Practices for Performance and Security
Running a private server at home means taking on the responsibility of securing and maintaining it. To protect your valuable data from unexpected hardware failures and lurking cyber threats, be sure to follow these essential IT best practices.
- Implement Hardware Redundancy: Let’s face it—hard drives eventually fail. You should always configure a RAID array (such as RAID 1 mirroring) for your physical disks to stop sudden data loss in its tracks.
- Use the 3-2-1 Backup Strategy: Remember that RAID is not a true backup. You always need three copies of your data, stored across two different types of media, with at least one copy safely tucked away offsite.
- Enforce Strict HTTPS: You should never transmit your passwords over unencrypted, plain HTTP connections. Always configure SSL/TLS certificates so that the traffic flowing between your devices and your cloud server stays completely encrypted.
- Keep Software Updated: Make it a habit to regularly patch your host OS, pull the newest Docker images, and update your hypervisor. Staying current is the easiest way to patch known security vulnerabilities before they can be exploited.
Recommended Tools and Resources
Are you feeling ready to start building out your own infrastructure? Here is a breakdown of the top software, tools, and hardware components we highly recommend for putting together a professional-grade, self-hosted experience.
- Hardware: Intel NUCs or Beelink Mini PCs deliver phenomenal power efficiency for home servers. If you’d rather buy a reliable, pre-built solution right out of the box, a Synology DiskStation is tough to beat. (Check out the best Mini PCs on Amazon).
- Operating Systems: We suggest Proxmox VE for handling virtualization, TrueNAS Scale for managing storage, and Ubuntu Server for your day-to-day general computing needs.
- Cloud Software: Nextcloud still reigns supreme as the undisputed king of home cloud syncing. However, Seafile and ownCloud also serve as fantastic, surprisingly lightweight alternatives depending on your needs.
- Networking: Tailscale is our top pick for zero-configuration VPN access, while Nginx Proxy Manager takes the headache out of SSL routing.
Frequently Asked Questions (FAQ)
Is it safe to run a cloud server at home?
Yes, it is remarkably safe as long as it’s configured correctly. By enforcing strong passwords, turning on Two-Factor Authentication (2FA), and using an encrypted reverse proxy or a secure VPN, your self-hosted setup can actually end up being significantly more secure than commercial cloud alternatives.
How much does a home cloud server cost?
Believe it or not, you can get started for $0 just by repurposing an old laptop or PC you already own. If you’d prefer to build a dedicated, low-power setup from scratch, you can expect to spend somewhere between $150 and $300 on a modern Mini PC or a Raspberry Pi kit—plus whatever you decide to spend on high-capacity hard drives.
Do I need a static IP address for a home server?
Not at all. There is absolutely no need to pay your ISP extra money for a dedicated static IP. You can easily get around this by using a Dynamic DNS (DDNS) provider like DuckDNS, or by leaning on modern networking tools like Cloudflare Tunnels that bypass changing IP addresses entirely.
Can I use an old laptop as a cloud server?
You absolutely can. In fact, old laptops make fantastic starter servers for beginners. They come with a built-in keyboard and monitor, making troubleshooting a breeze. Plus, the internal battery acts as a built-in Uninterruptible Power Supply (UPS) if your house ever loses power.
Conclusion
Taking back control over your digital life and personal privacy is a deeply rewarding project. By taking the time to understand how to run your own cloud server at home, you can say goodbye to frustrating monthly subscription fees and finally ensure your data stays strictly under your own control.
Whether you choose to start small by running Ubuntu on an old desktop, or decide to go all out by building a massive Proxmox virtualization cluster, the necessary tools are completely free and widely available. You can start today just by gathering some spare hardware, installing a solid Linux distribution, and spinning up an instance of Nextcloud.
Don’t let massive tech companies dictate how you manage your most precious memories and confidential files. Take the leap, build your personal cloud, enforce strict security habits, and enjoy the true freedom that comes with self-hosting.